How can you focus on the stars, galaxies, moon, and more when you're in pain…
DIY First Surface Mirror
First surface mirrors are perfect for photography, art, illusions, and a great way to improve the mirrors in your home! Making your DIY First Surface Mirror will be able to improve the mirror quality of your standard mirrors!
If you are unable to purchase an optical grade first surface mirror you can simply make your own! However, if you are using the mirror for an optical grade science project we do recommend buying a first surface mirror.
Optical grade first surface mirrors are ideal for projects that require precision, lasers, and other aspects where a DIY might not have enough high quality.
You can view our different types of First Surface Mirrors on our website! They are used for medical, laboratory, optical, and other science and technology applications.
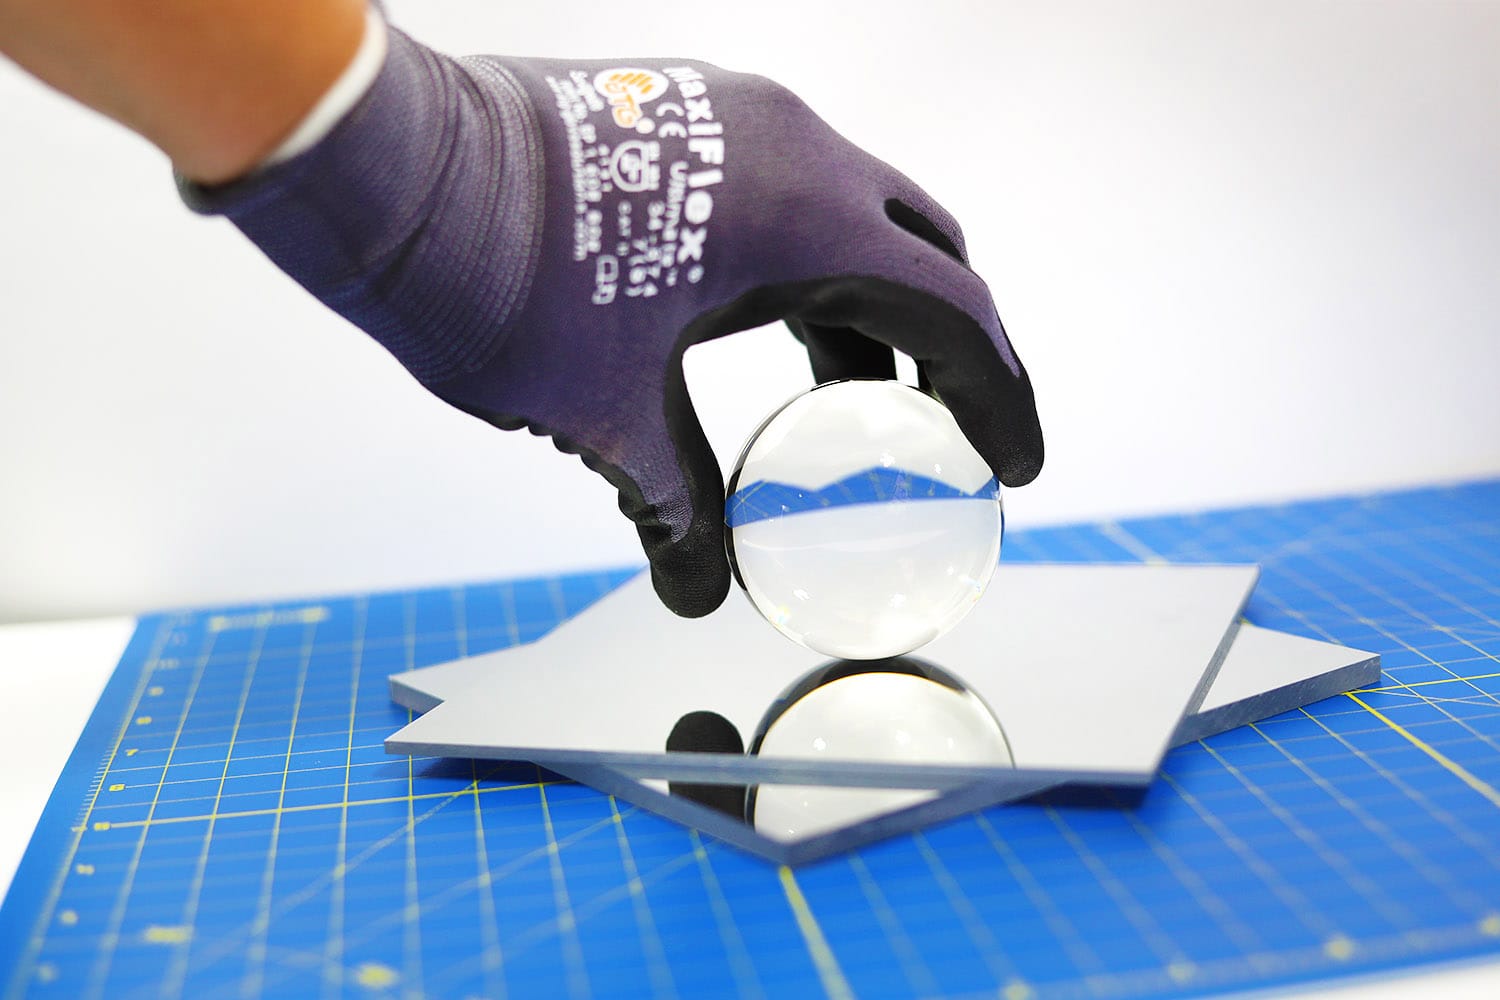
How to make a First Surface Mirror!
If you want a quick and easy solution to a First Surface Mirror that is inexpensive, keep reading!
You can use a DIY first surface mirror for multiple reasons. You can use it for photography, home improvement, artwork, crafts, classroom science projects, and more!
Let’s get started!
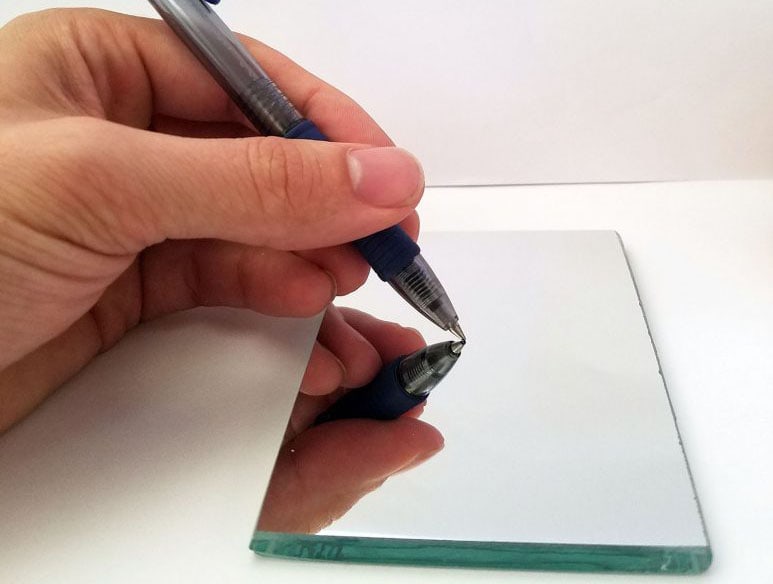
Materials for your DIY First Surface Mirror:
- Paint Thinner
- Rubber Gloves
- Container or Bin
- Standard Mirror
- Squeegee
- Glass Cleaner
- Microfiber Towel
Standard mirrors, which are mirrors that you would find around your house or at the department store, have a backing on the mirror. The backing is actually covering the reflective coating. Therefore, the part where you can see the reflection is actually the second surface part on the mirror. This is what creates the double reflection.
So, when you remove the backing on the mirror you are uncovering the direct mirror coating! This is what creates the sharp reflection on a first surface mirror!
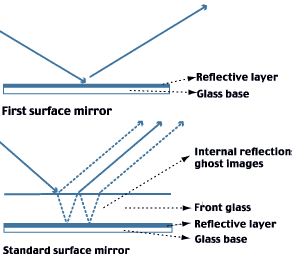
A standard mirror is roughly 85% reflective since the coating is on the back side of the glass. Whereas a first surface mirror is 94% reflective or higher! You can even get a chemically treated UV enhanced first surface mirror that allows you to use objects such as lasers on it!
Step 1: Placing the Standard Mirror
Place the standard mirror inside the container you purchased. The container does not have to be deep!
It just needs to be wide enough to fit the standard mirror and allow enough room for it to soak in the paint thinner.
Place the back side of the standard mirror up.
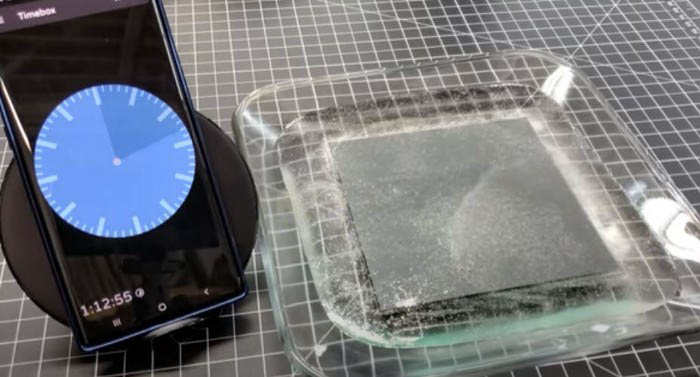
2: Pour in the Paint Thinner
Pour the paint thinner on top until it is covered and able to soak within it.
Letting the paint thinner soak will make it easier to scrape off the back of the mirror coating.
3. Wait
Wait an hour and fifteen minutes. This is the perfect amount of time for the paint thinner to bubble and remove the backing from the standard mirror.
If you wait too long, the glass will oxidize and become a copper color. This is another reason why if you want a better grade FSM ordering one is the best option.
4: Remove the Backing
Remove the glass from the container and start scraping of the back of the mirror with the squeegee.
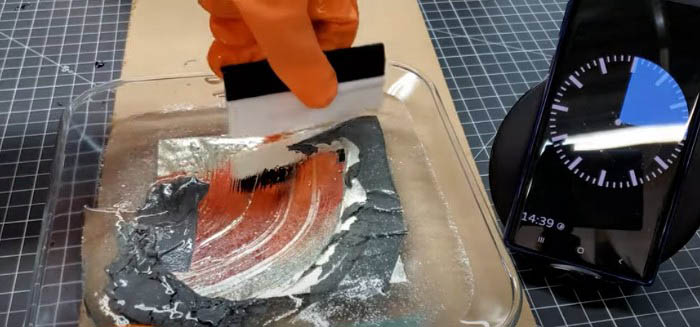
5: Clean the Glass
Clean the glass with an ammonia free alcohol cleaner with a microfiber cloth.
Make sure you remove all of the paint thinner off of the glass!
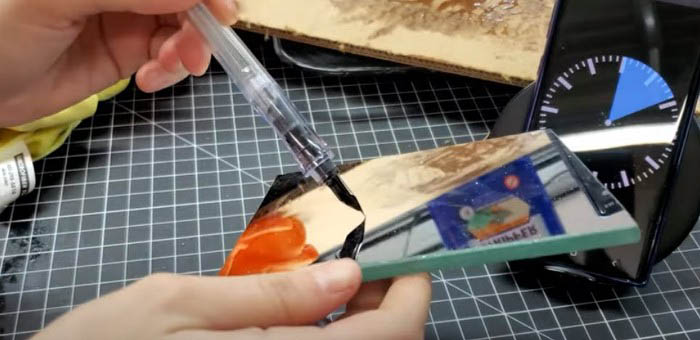
There you have it! A DIY first surface mirror!
